Creating your first custom WordPress plugin with JavaScript code may seem difficult at first, but it’s actually easier than you think. In this tutorial, we’ll walk you through 5 simple steps to create a custom WordPress plugin with example JavaScript code that displays a button and alerts “hello” when clicked. Today I will teach you this in just 4 steps.
Table of Contents
- Step 1: Create a New Plugin Folder
- Step 2: Create a New PHP File & Add Your Plugin Code
- Step 3: Activate Your Plugin in the WordPress Dashboard
- Step 4: Add the shortcode to a post or page
- Conclusion
Step 1: Create a New Plugin Folder
Navigate to the wp-content/plugins directory and create a new folder for your plugin. Give the folder some descriptive name that reflects the purpose of your plugin.

Step 2: Create a New PHP File & Add Your Plugin Code
Inside your new plugin folder, create a new PHP file and name it the same as your plugin folder. In this file, define the basic information about your plugin, such as its name, description, version, and author.

Now it’s time to add your plugin code. We’ll add a shortcode that displays a button and alerts “Hello” when clicked. Here’s an example of the code you can use:
<?php
/*
Plugin Name: My Custom Plugin
Description: Adds a shortcode to display a button and show a "Hello" alert message when clicked.
Version: 1.0
Author: Your Name
*/

// Add shortcode to display button
function my_custom_button_shortcode() {
  return '<button id="my-custom-button">Click me</button>';
}
add_shortcode( 'my_custom_button', 'my_custom_button_shortcode' );

// Add JavaScript to show alert message when button is clicked
function my_custom_button_script() {
  ?>
  <script>
    document.getElementById('my-custom-button').addEventListener('click', function() {
      alert('Hello');
    });
  </script>
  <?php
}
add_action( 'wp_footer', 'my_custom_button_script' );
?>
Step 3: Activate Your Plugin in the WordPress Dashboard
To activate a plugin in WordPress, you can follow these steps:
- Log in to your WordPress admin dashboard.’
- Click on the “Plugins” menu on the left side of the dashboard.
- Use the search bar to find the plugin you want to activate.
- Click on the “Activate” button to activate the plugin.

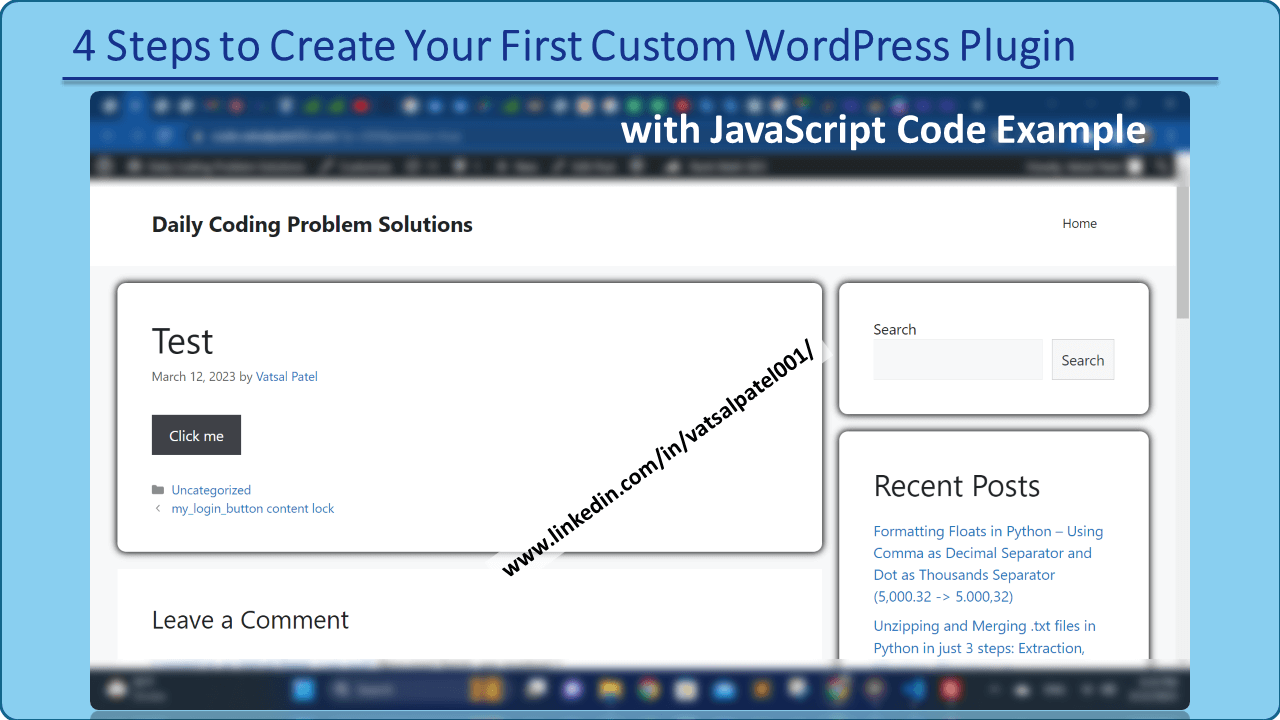
Step 4: Add the shortcode to a post or page
To add a shortcode to a post or page in WordPress, enter the shortcode in square brackets, customize it with any required attributes or parameters, and save or publish the post or page.

Conclusion
When you click the button, it should display the “Hello” alert message. Refine your plugin code by checking for syntax errors or conflicts with other plugins or themes.
That’s it! With these 5 simple steps, you can create your first custom WordPress plugin with a JavaScript code example.